1. Covergirl Outlast Foundation I simply cannot say enough good things about this foundation. It lasts longer than anything I've ever used, it is absolutely perfect for a long day, or even a sweaty night of dancing! You can read more about my thoughts on it in my summer essentials post , I have put this stuff to the test and it truly is impressive! Plus I thought it was super fitting I used a CoverGirl foundation, considering Taylor herself is a Cover Girl! Cost: $9-12
2. E.L.F. baked blush in "Pinktastic". If you notice Taylor has minimal product on her cheeks, it almost looks like she skipped a blush all together and just used a pink/silver highlight on the top of her cheek bones. Pinktastic is a great way to achieve just a slight shimmery, pink look and if use with a light hand could be used as just a highlight instead of a blush. The elf baked blushes are long wearing and extremely pigmented, they are a great alternative to the Mac mineralized skin finishes. Cost: $3
3. Physican's Formula Quad in "Canyon Classics" This palette is absolutely fantastic, it can work as double duty to fill in your brows {if you have brunette hair or lighter} and the gorgeous matte grey shadow is PERFECT for recreating Taylor's smokey eye! I know what you're thinking... "Leah there is a ton of glitter on her eyes, they're not matte!" Don't worry, #4 takes care of the glitter, just apply the matte shade all over the lip up into the crease and smudge it along the lower lash line. If you want a little more definition put the lightest color in this palette in the inner tear duct area and right below your brows! Cost: $7
4. Femme Couture glitter eyeliner in "Chain Reaction" This is a liquid brush on glitter eyeliner in silver. Now I know that glitter can be intimating for some people, but I think the tiny brush applicator on this wand offers a great amount of control, so the application isn't messy at all {hallelujah!} To get Taylor's look apply the eyeliner right under your lower lash line & in your inner corner. If you're glitter maven, however, by all means... go nuts! Haha {Note: I know that NYX used to make a silver glitter eyeliner too, but I couldn't find it anywhere... not sure if it's been discontinued.} Cost: $7
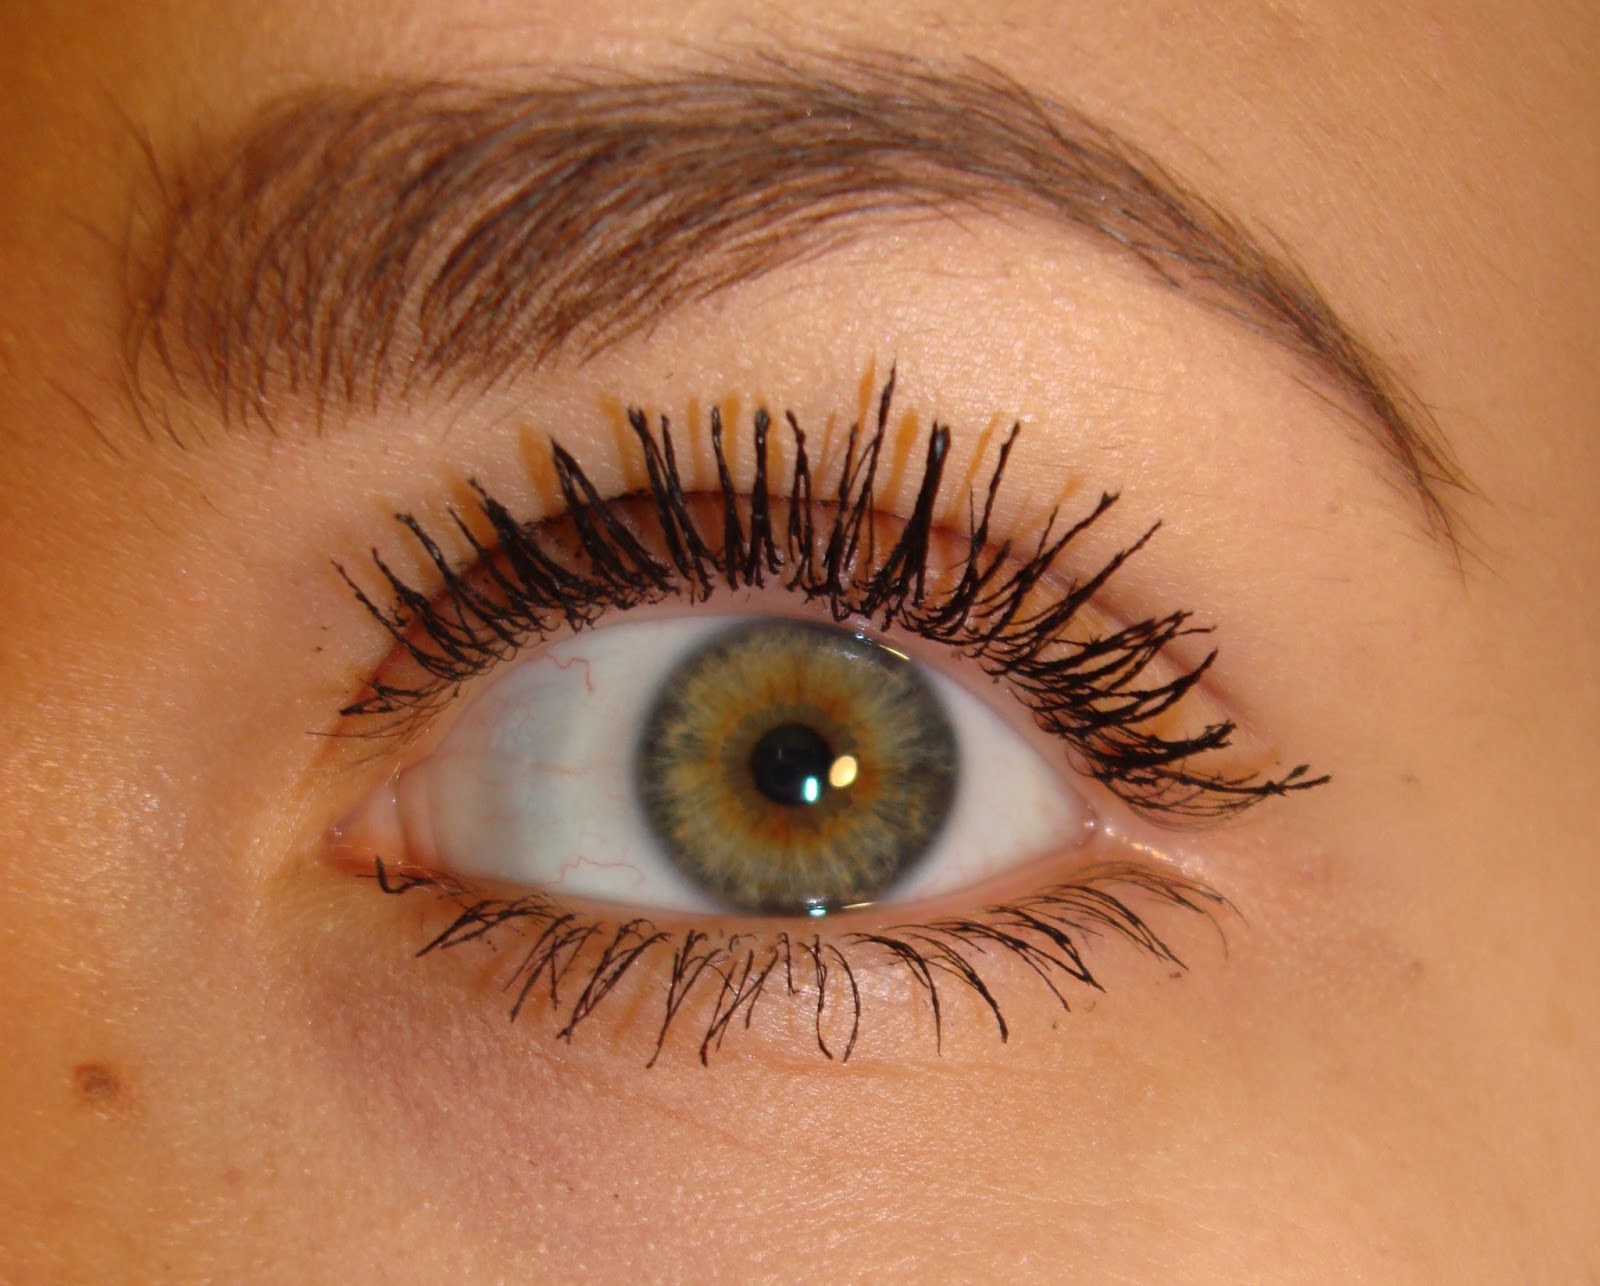
5. Maybelline Cat Eyes Mascara , I love this Mascara! Not only is the packaging adorable {I'm a completely sucker for leopard print!} but I think this formula is long lasting and holds a curl very well. The curved brush helps my stick straight lashes to curl better, even after curling them with an eyelash curler. Also, it isn't a HUGE brush like a lot of mascaras tend to be now-a-days, so it works very well at getting your bottom lashes without smudging/making mistakes. You can always pop on a pair of false lashes if you want a bit more drama, Taylor didn't look like she was wearing any {if she was they're semi-natural}. Just make sure you curl first and apply at least 2 coats for that dramatic look! Cost: $7-9
6. NYC lipstick in "Sheer Red" this lipstick is absolutely gorgeous, plus for a red... it's such an easy to wear red! It's tad bit darker than your classic "retro red", so I thought it would be perfect for Taylor's look. If you're a little intimidated about wearing a red lipstick just apply this lightly, I almost guarantee you'll like it! It's flattering on so many skin tones, and guess what it's only a buck!? That's right 99 cents. If you're going out for a long night try and apply a lip liner first to increase the longevity of wear. Cost: $1
There you have it an easy, cost effective way to achieve Taylor Swift's VMA makeup look FOR LESS! I really think this is a perfect look for a sexy date night or a special night out! Please let me know if you plan on trying this look out AND what was your favorite celebrity look of the night. Thanks for reading, don't forget to subscribe!
Until next time! xo Leah
Follow me on: Google Friend Connect | Instagram | Bloglovin'